Latest update: December 2025
Tested with: DSM 7.2, 7.3
Skill level: Entry
- Overview
- Install Container Manager
- Confirm your Docker path
- Create a project
- Check that everything works
1. Overview
In this guide we’ll install Portainer Community Edition (CE) on a Synology NAS. We’ll use Container Manager, a GUI for Docker from Synology, to accomplish this task. Portainer CE is a free alternative to Synology’s Container Manager, and many people choose it for its flexibility and high degree of insight into containerized applications.
What you’ll need
- A Synology NAS with DSM 7.2 or above
- Free space for:
- Container Manager
- Portainer CE
- Additional containers you install later
2. Install Container Manager
- Sign into your NAS from the web UI using an admin account.
- If you’ve never installed Container Manager, install it from the Package Center.
Note
During the installation, you will be prompted to configure the bridge network. For most people it’s fine to use the default options presented by the installer.
3. Confirm your Docker path
We need to confirm which volume Container Manager is using to store data. Most people have precisely one volume on their Synology NAS. If this is true for you, your default Container Manager storage path is /volume1/docker. If your NAS has more than one volume, you can check with the following instructions.
- Locate the docker folder in File Station. This is folder was created automatically by Container Manager during the installation.
- Open the folder’s Properties from its shortcut menu.
- Check the Location field. If it lists /volume1/docker, you can use the instructions in this guide without modifying anything. If it lists a different location such as /volume2/docker, you will need edit one line of code to use this information in the next section of this guide.
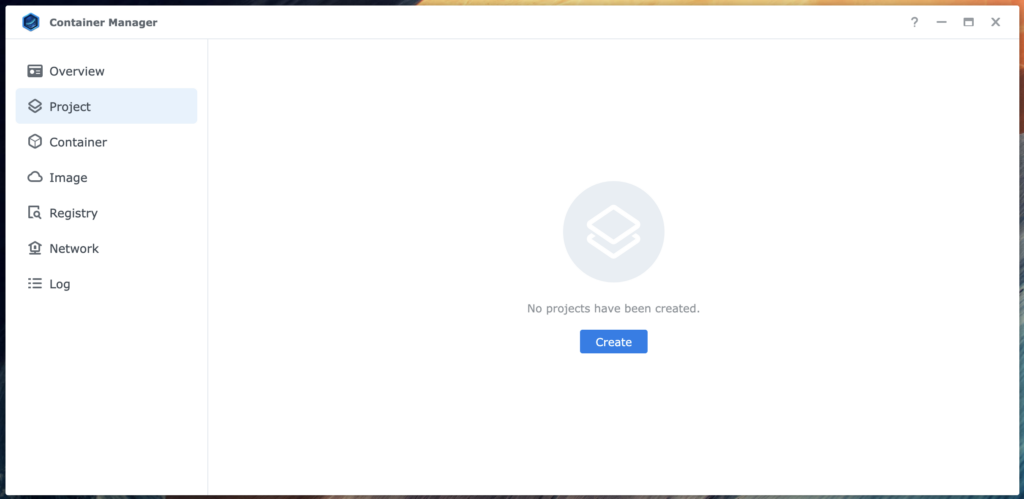
4. Create a project
Now we’ll create a Container Manager project to install Portainer CE.
- Open Container Manager, select Project, then select Create.
- Give your project a meaningful name such as portainer-ce.
- Create a sub-folder in the docker folder named portainer using Set Path. The full path should be /docker/portainer.
Tip
You can use Set Path to select any folder on your NAS to store Portainer CE’s data, but for simplicity it is usually preferable to organize data for all your containers in the /docker folder. If you use a different location for Portainer, you must edit the project code to use the location you’ve selected.
- Change the Source to Create docker-compose.yml. With this change made, you will see a workspace that allows you to enter text.
- Copy and paste the following code into the new workspace. If you use a different volume location or Portainer data folder than in our example, edit the line that says – /volume1/docker/portainer:/data to match your information.
Important
If you edit volume location in the code below, do not change the text that says :/data. Editing this may cause Portainer to function incorrectly or not function at all.
Important
If you edit any of the following code, you must preserve the original indentation. This code is written in YAML, which strictly requires consistent indentation to function.
services:
  portainer:
    image: portainer/portainer-ce
    container_name: portainer
    ports:
      - "8000:8000"
      - "9000:9000"
      - "8443:8443"
    volumes:
      - /var/run/docker.sock:/var/run/docker.sock
      - /volume1/docker/portainer:/data
    restart: always
    networks:
      - portainer_network

networks:
  portainer_network:
    driver: bridge
- After you have pasted the above code into your workspace, continue to Web portal settings, then to Summary.
- Select Start the project once it is created, and then finish the project by selecting Done. This will cause Portainer to download and install. You can close the Build view whenever you want. Portainer will continue to install in the background, regardless of when you close the Build view.
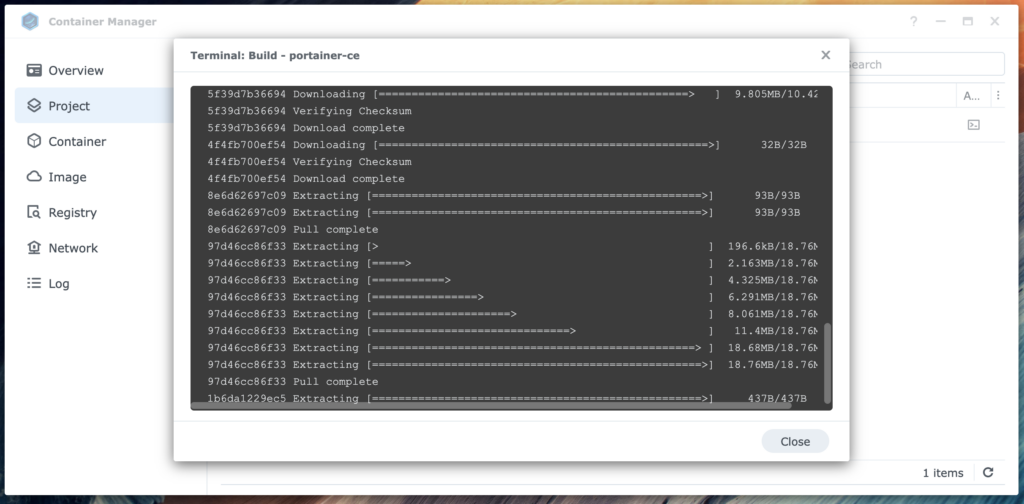
- Wait for the installation to complete and for Portainer start. A green circle in Container Manager indicates that Portainer has started.

5. Check that everything works
With Portainer CE running, all that’s left is to sign in, create your account, and start using it.
- Note your NAS’s IP address, and open a new browser tab. You can find the IP address from Control Panel, Network, Network Interfaces.
- Navigate to http://nasipaddres:9000. Portainer will guide you through an initial configuration. At this point Portainer CE is ready for you to use.
From here on, the rest is up to you. Good luck and have fun!1!!!1
TCP