Latest update: January 2026
Tested with: DSM 7.3, Nginx Proxy Manager 2.13.5
Skill level: 3
- Overview
- Install Container Manager
- Create back-end folders and files
- Create a macvlan interface
- Install NPM
- Sign in to NPM
1. Overview
Nginx Proxy Manager (NPM) is one of the most popular reverse proxy servers for homelabs and production services alike. NPM makes it simple to manage SSL certificates and set up secure access to your self-hosted applications and servers. If you’re looking to simplify access to container applications, servers, or other web services in your homelab, this guide is for you.
What you’ll need
- A Synology NAS with free space for Container Manager and Nginx Proxy Manager.
- Shell access to your NAS. Learn how to access the shell in our guide, How to SSH into your Synology NAS.
- Subnet and gateway address details for your LAN.
2. Install Container Manager
If you’re new to the Synology ecosystem, Container Manager is Synology’s graphical frontend for the Docker engine. Skip this step if you’ve already installed it.
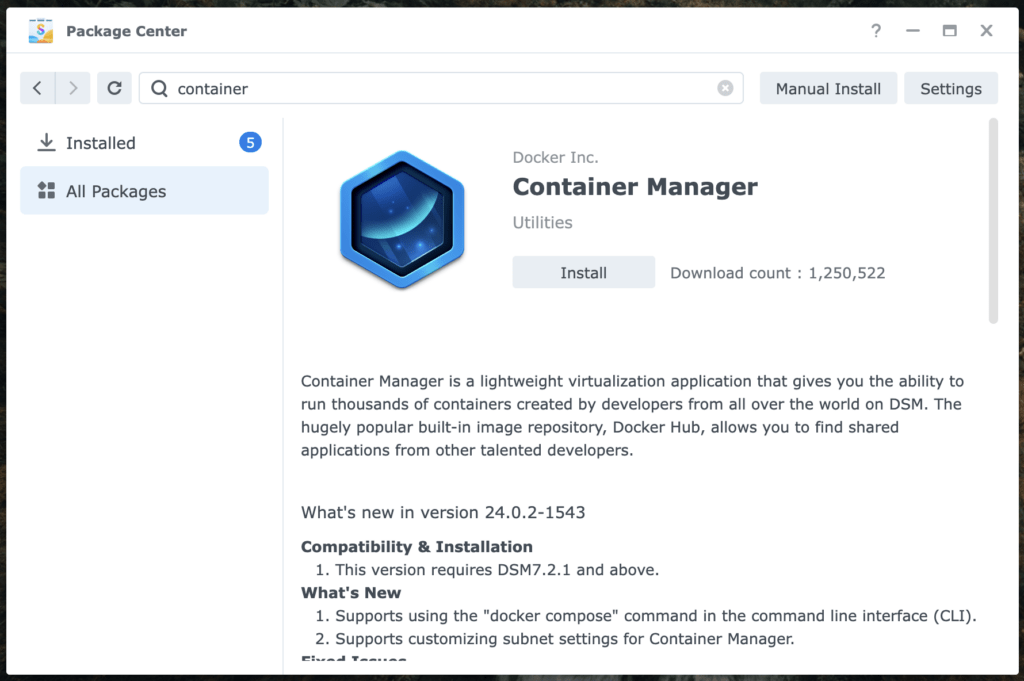
- Sign in to the DSM web console on your NAS using an admin account.
- Install Container Manager from the Package Center.
Note
You will be prompted to configure the bridge network during the installation. Using the installer’s default option is appropriate for most people.
4. Create back-end folders and files
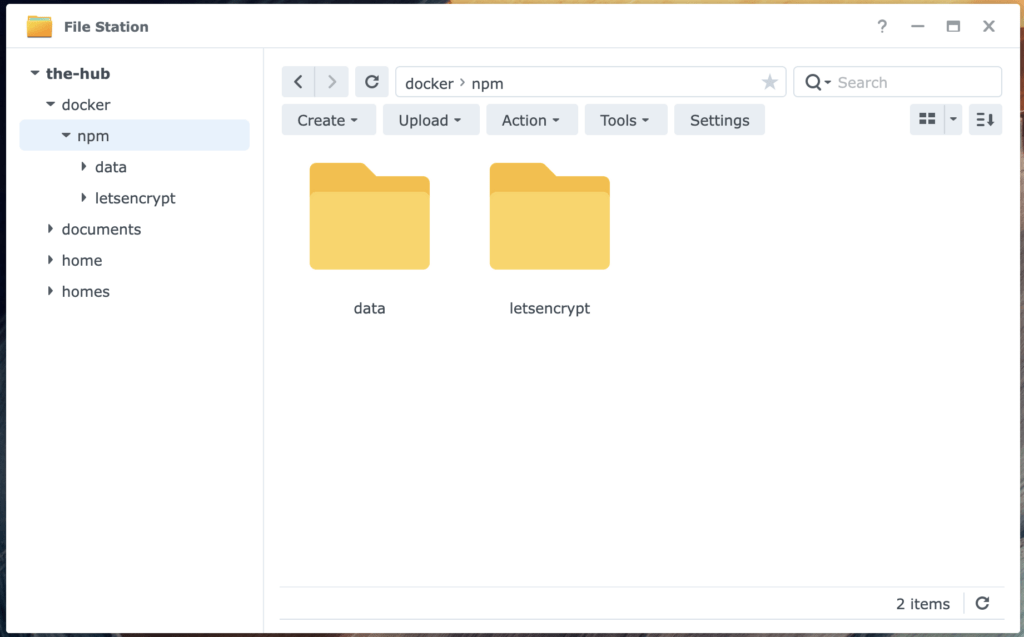
We must manually create every folder that NPM will use before we install it. These folders are where NPM will store backend data that is necessary to function.
- From the DSM web console, find the shared folder named docker in File Station.
- Create a new folder named npm inside the docker folder.
- Create two additional folders inside the npm folder. Name one data and the other letsencrypt.
5. Create a macvlan interface
NPM routes web traffic through ports 80 and 443, and this can cause conflicts if DSM and our container share an IP address. To avoid any conflicts, we’ll give our NPM container a dedicated IP address by creating a virtual network interface with docker’s macvlan driver.
- Sign in to your NAS’s shell via SSH using an admin account. Follow my guide, How to SSH into your Synology NAS, if you don’t know how to do this.
- Once you’re at the shell, input the following command to see your gateway, the NAS’s network interface, and enough information for us to deduce the subnet for your network.
ip route | grep default
Example output:
default via 192.168.1.1 dev eth0 src 192.168.1.222
This example shows that our gateway is 192.168.1.1, the NAS’s network interface is eth0, and the NAS IP address is 192.168.1.222.
With our gateway and NAS IP address sharing the prefix 192.168.1, it is very likely that the network subnet is 192.168.1.0/24. - Create a docker network by inputting the command below, matching SUBNET/24, GATEWAY, and NETWORKINTERFACE with your own information. Replace UNUSEDIPADDRESS with an unused IP address on your network. You may wish to reserve this IP address on your router in order to avoid the possibility of future address conflicts.
sudo docker network create --driver macvlan --subnet=SUBNET/24 --gateway=GATEWAY --ip-range=UNUSEDIPADDRESS/32 -o parent=NETWORKINTERFACE npm_macvlanEntering the above command creates a Docker network that has exactly one possible IP address, the unused address you specified. This Docker network will coexist with your LAN so devices and containers on each can communicate freely.
6. Install NPM
We will install NPM on our NAS as a Container Manager project. The Container Manager projects are essentially Docker Compose, but created and monitored from the Synology web console.
- Create a new project in Container Manager >> Project.
- Give the project a meaningful name in General Settings. In this guide we name it npm.
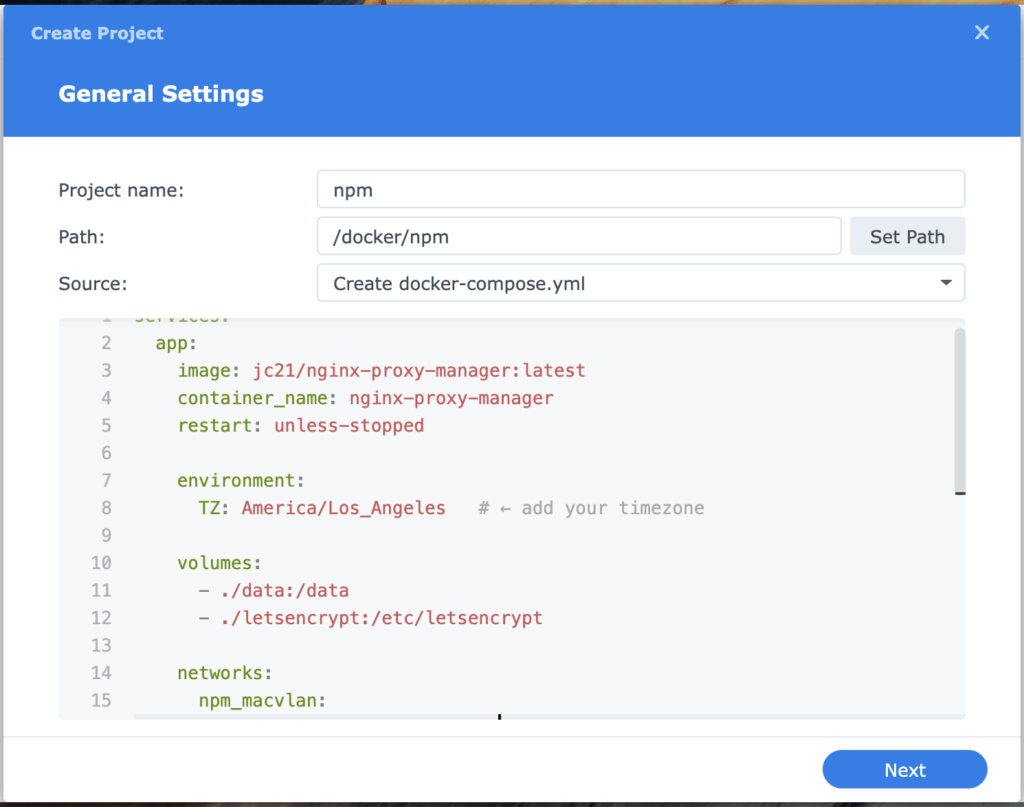
- Set the Path to the npm folder that we created earlier.
- Change the Source to Create docker-compose.yaml and paste the following configuration into the project editor.
services:
  app:
    image: jc21/nginx-proxy-manager:latest
    container_name: nginx-proxy-manager
    restart: unless-stopped

    environment:
      TZ: America/Los_Angeles   # ← add your timezone

    volumes:
      - ./data:/data
      - ./letsencrypt:/etc/letsencrypt

    networks:
      npm_macvlan:
        ipv4_address: IPADDRESS   # ← pick an available LAN IP

networks:
  npm_macvlan:
    external: true
- Edit IPADDRESS to match the address you chose in step 5, and edit America/Los_Angeles to match your timezone. A list of timezones is viewable at the timezonedb website.
Important
Do not change the indentation when you edit the configuration template. Docker compose requires consistent indentation.
- Select Next to continue past Web portal settings and on to Summary. Select Start the project once it is created and then finish creating the project.
Nginx Proxy Manager will now download and install on your NAS. Now is a good time to grab a cup of coffee.
7. Sign in to NPM
It doesn’t take long, but the first time you install NPM you’ll be prompted to create a user account. Once you’ve done this, you can sign in to and begin using NPM.
- Navigate to the NPM web console at http://IPADDRESS:81, substituting IPADDRESS with the unused address you specified in step 5.
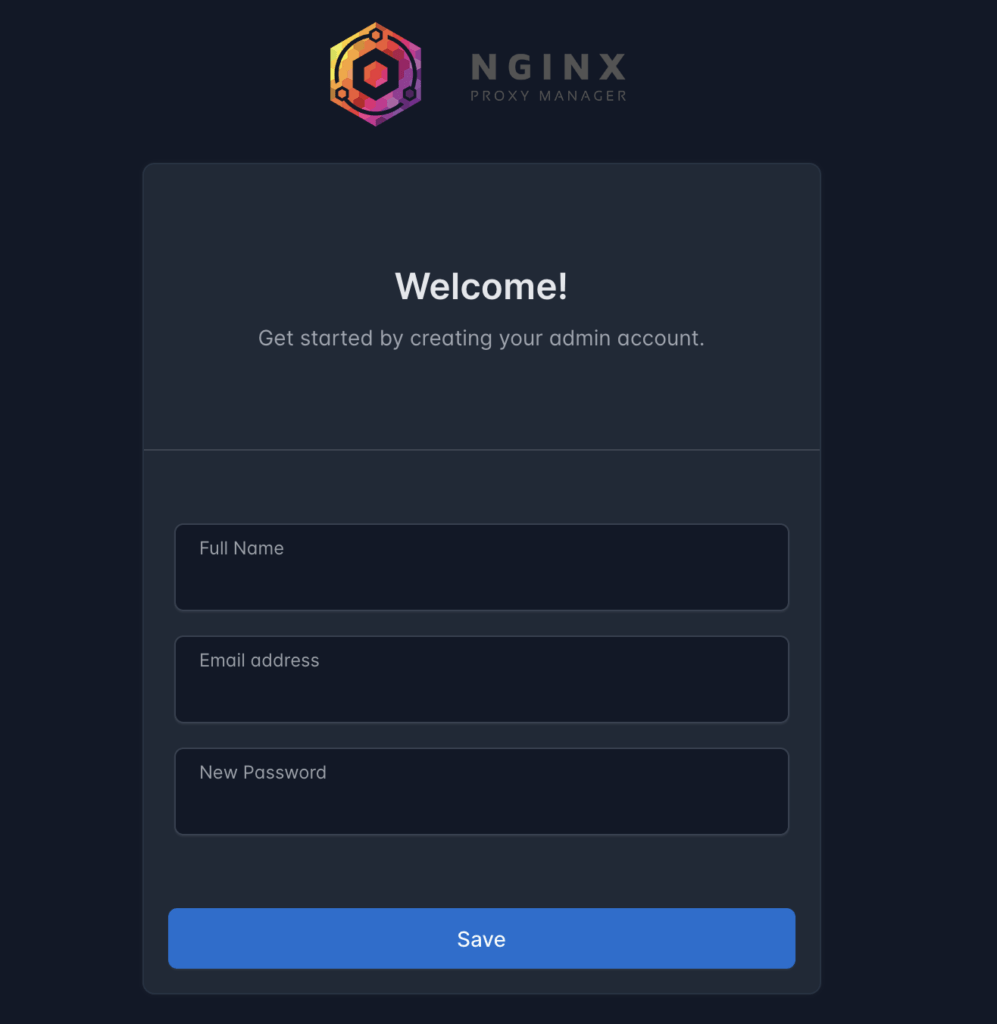
- Create your first user account, and then you will be automatically signed in.
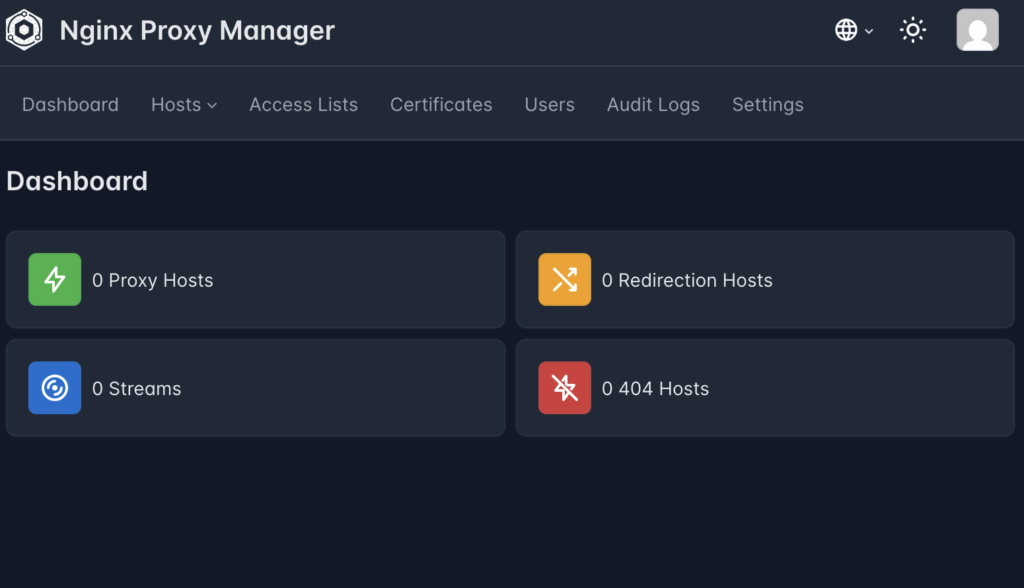
From here, Nginx Proxy Manager is ready to use. We suggest starting by adding an SSL certificate, but really, that’s entirely up to you.
Good work, good luck, and have fun!
TCP